Tutorial
There are two ways to use Translator:
- Through Visualizer, our Hapi web application that brings together all the resources of the project in one place.
- Through the Command Terminal.
Visualizer
For a lighter experience, we recommend using the translator through our WEB Application. Visualizer (Fig.1), which is another tool that accompanies the Hapi program. That way it will be very simple to use Translator to convert the policies written in .hp to .yaml:
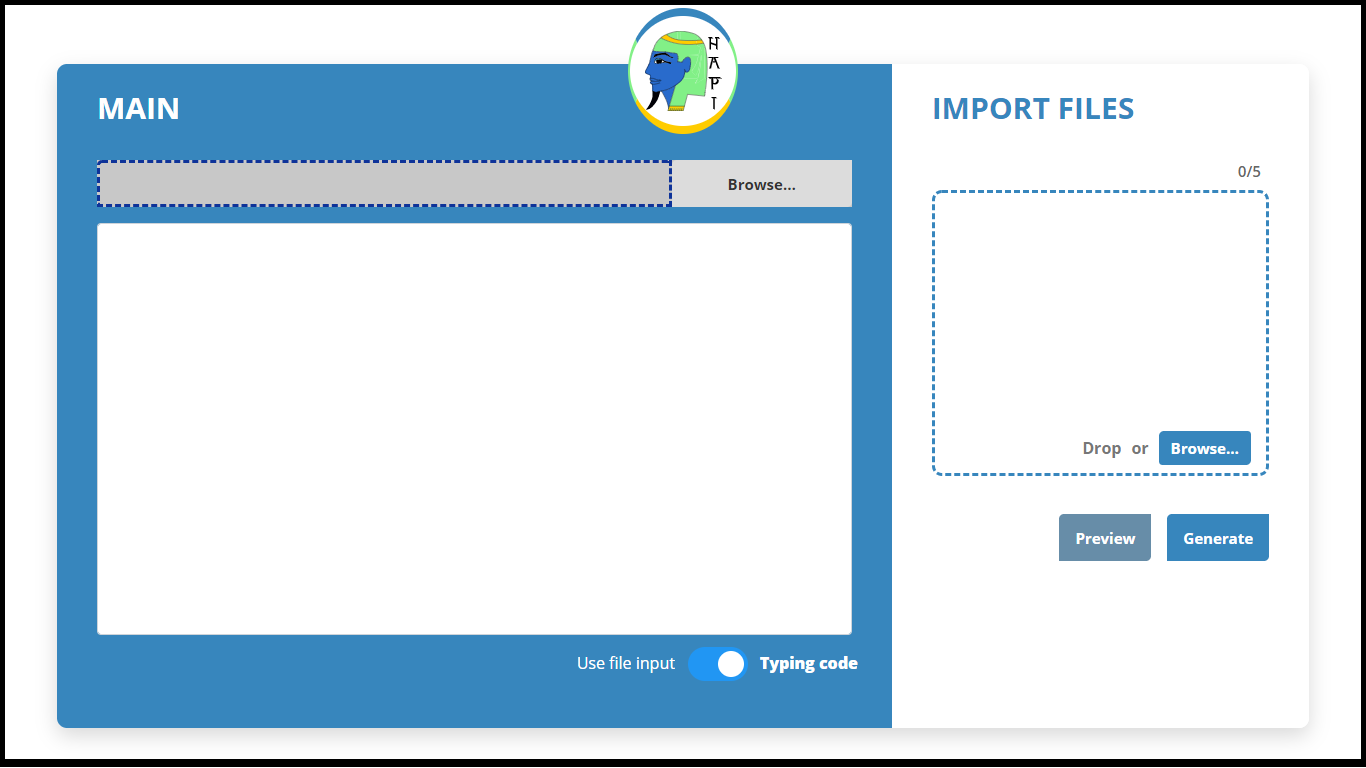
After inserting the Policy created in the designated field, the user only needs to run the application, and it will return the translated YAML file, which may then be downloaded.
NT.:See [next section](http://cuda.dcc.ufmg.br/hapidoc/tooling/visualizer/index.html) for the Visualizer installation walkthrough
Command Terminal
In this case, it will be necessary to have the Gradle component properly installed on your machine. In the Hapi root folder (../hapi/), enter the command:
gradle run --args=path/of/your/file.hpunder the desired policy file. A .yaml file will be generated as output, with the same name and in the same folder as the input .hp file.
Note: Gradle already comes with the Hapi installation package.
We will present some examples using both methods, in the following subsection.